|
Canning Carrots
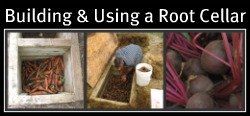
Make sure to also check out using a root cellar to preserve your fresh carrots. 
Canning Carrots InstructionsStep 1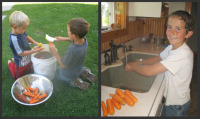
The first step is to wash and scrub your carrots. Carrots are pretty dirty because they are a root vegetable. Wash most of the dirt off outside. Then bring your carrots inside for a final washing. There is no need to peel your carrots. The skins are nutritious and a good scrubbing can get the dirt off the carrots. Step 2Now you can chop, slice, quarter, dice, etc. your carrots. It really doesn’t matter. How do you want them to look when you use them this winter?
Step 3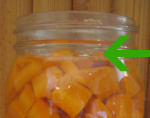
For detailed instructions on preparing your canning jars and lids
click here. Pour hot water over the carrots leaving a one-inch headspace (space between rip of the jar and top of the water).
Step 4Carrots are a low acid food a must be processed in a pressure canner. Process your quarts of carrots in a pressure cooker for 30 minutes. Pints are processed for 25 minutes. The pounds of pressure depends upon your altitude.
See Altitude Adjustment Table. Step 5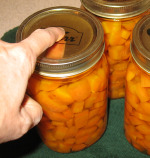
Remove your carrots from the pressure canner and set them on a towel to cool. After they cool, check to make sure the lid sealed. Click here to learn how to check your lids for a seal. Store your jars of carrots in a cool, dry, dark area if you can. If not, do your best. Make sure you Earthquake Proof your food storage room. Enjoy!
Return To:Home Canning from Canning Carrots |



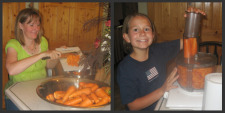 I slice, dice, and chop the different batches of carrots because I have different uses for them. Some go in soups, others in casseroles, and some we eat plain. I like the size of hand-chopped carrots, but when my arm gets tired of chopping I resort to using a food processor.


